Introduction
If you’re anything like me, you’re always looking for easy ways to reduce waste and make the most out of what’s in your fruit bowl. Enter: dehydrated orange slices. Whether you want to dress up a cocktail, garnish a cake, or just snack on something naturally sweet, these little slices of sunshine are as practical as they are beautiful. They’re ridiculously easy to make—just one ingredient, no fancy tools—and they store like a dream. Perfect for holiday crafts, charcuterie boards, or just a pop of brightness in your pantry.
Detailed Ingredients 🍊🔥📦
Here’s all you need to get started:
- 🍊 4 medium oranges (or more—go wild!)
- 🧻 Parchment paper for lining your baking sheets
- 🕒 Time and patience (they’re worth it, promise)
Direction
- Preheat your oven to 200℉.
- Line baking sheets with parchment paper.
- Slice your oranges into thin rounds—about ¼-inch thick works best. Try to keep the thickness consistent so they dry evenly.
- Arrange the slices in a single layer on your baking sheets.
- Bake for 2½ to 3½ hours, depending on slice thickness.
- Optional but recommended: Flip the slices toward the end of baking to dry both sides evenly.
- Remove from oven once they look dry, firm, and slightly translucent.
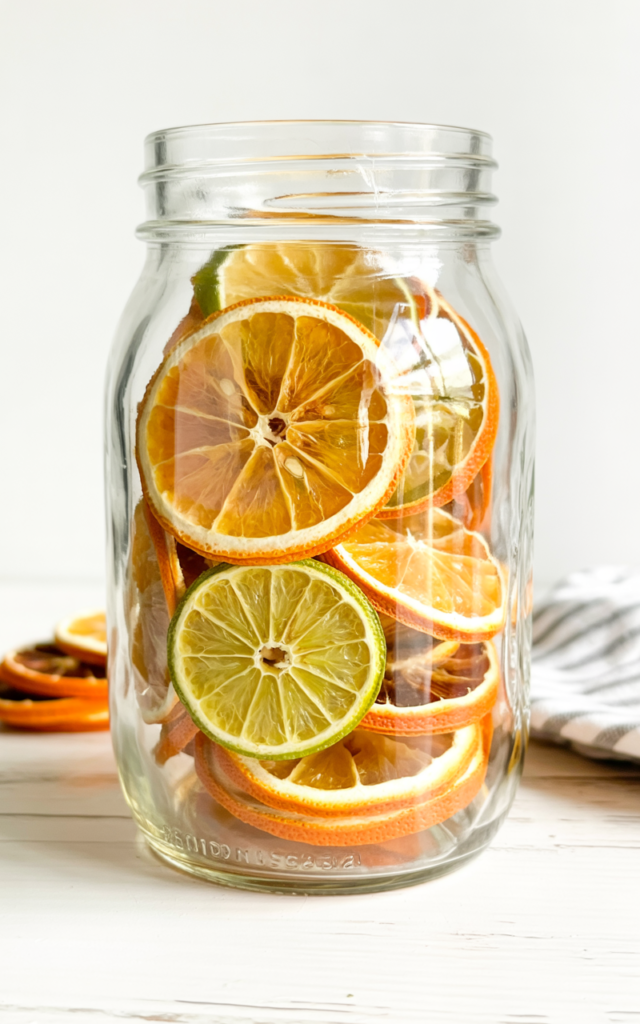
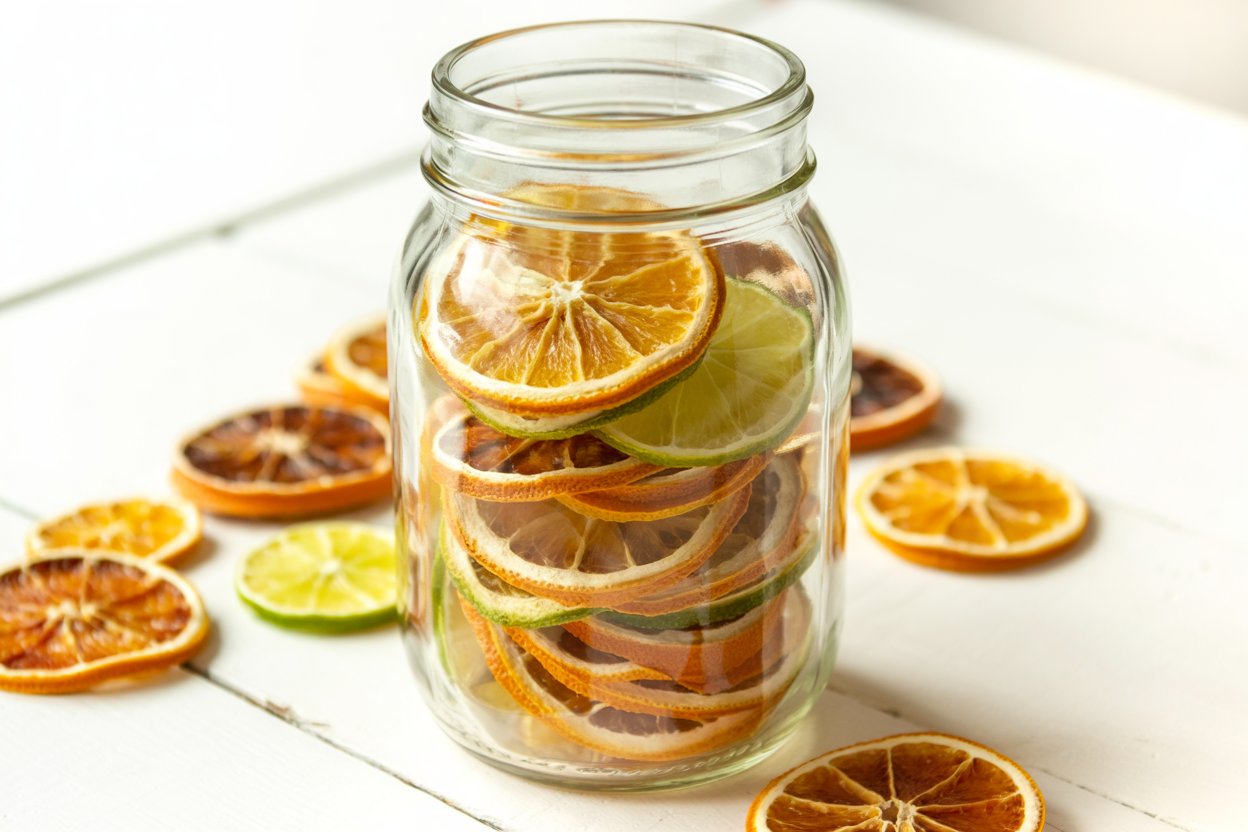
- Cool completely and store in glass jars in the fridge for long-lasting freshness.
My Story
So here’s the deal: I had a bag of oranges that no one in my house was touching, and I hate wasting food. I remembered seeing dried orange slices on Pinterest and thought, “How hard can this be?” Spoiler: it’s super easy. The first time I made them, I used them to garnish a pitcher of iced tea and got so many compliments—it was just a little thing, but it made the whole pitcher feel fancy. Now I keep a stash in the fridge year-round. My kids snack on them like candy, and they’re also my go-to trick for making any holiday DIY look instantly Pinterest-worthy. Honestly, once you make them, you’ll never want to toss a wrinkly orange again.
FAQ
Q: Do I need a dehydrator to make these?
Nope! Your oven works just fine. Low and slow is the key.
Q: Can I use blood oranges or other citrus?
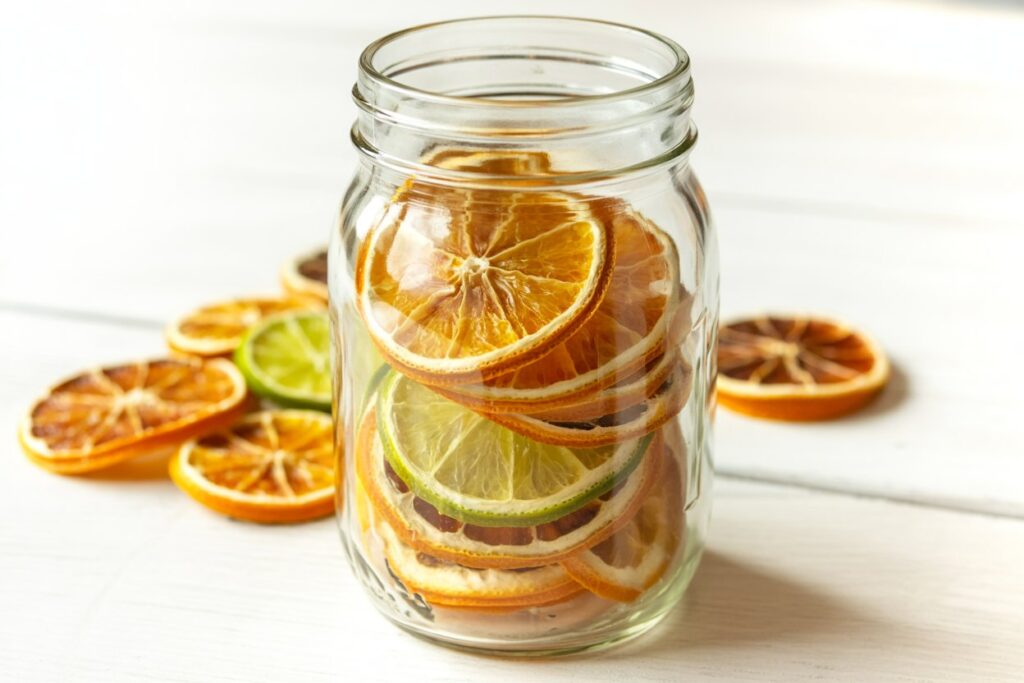
Absolutely. Blood oranges, lemons, limes, even grapefruit work beautifully.
Q: How do I know when they’re done?
They should look slightly translucent and feel dry and firm—not sticky or soft.
Q: How should I store them?
Keep them in an airtight jar in the fridge. They can last several months (or even longer).
Q: Can I sweeten them?
You can, but they’re naturally sweet. If you want to get fancy, sprinkle a little cinnamon sugar before baking.
Suggestion
- Use as a cocktail garnish – especially for holiday drinks or spritzers.
- Decorate gifts or wreaths – they make any present look like it came from a boutique.
- Add to charcuterie boards for a citrusy pop.
- Toss a few in a tea kettle for a flavored herbal blend.
- Dip in chocolate for a unique, elegant treat.
Conclusion
Dehydrated orange slices are the kind of kitchen project that looks way more impressive than it actually is. With just oranges and a little time, you can create something that feels artisan, useful, and downright pretty. They brighten up everything from drinks to décor, and they’re totally customizable depending on your vibe—rustic, fancy, festive, you name it. Plus, there’s just something magical about transforming a basic orange into something that can last for months. Whether you’re looking to reduce food waste, make natural decor, or just try something new, this one’s a winner. Keep a jar in your fridge—you’ll be amazed how often you reach for it.
— Sarah Cooper
Gotubbe.com 🍊✨