Introduction:
Drawing polar bears can be a fun and rewarding experience, but it may seem challenging at first. With the right tips and techniques, you can master the art of drawing these majestic creatures with ease. In this article, we will provide you with 10 easy tips to help you improve your polar bear drawing skills. Whether you are a beginner or an experienced artist, these tips will help you create more realistic and lifelike polar bear drawings. Get ready to unleash your creativity and bring these beautiful animals to life on paper!
1. How to Draw a Polar Bear
To draw a polar bear, start by sketching a large oval shape for the body and a smaller oval for the head. Add small circles for the ears and feet. Next, draw a thick, curved line for the back and a smaller curved line for the belly. Add details like the eyes, nose, and mouth. Don’t forget to draw the fluffy fur around its neck and on its paws. Lastly, add shading to give your polar bear depth and dimension. With practice and patience, you can create a realistic and adorable polar bear drawing!
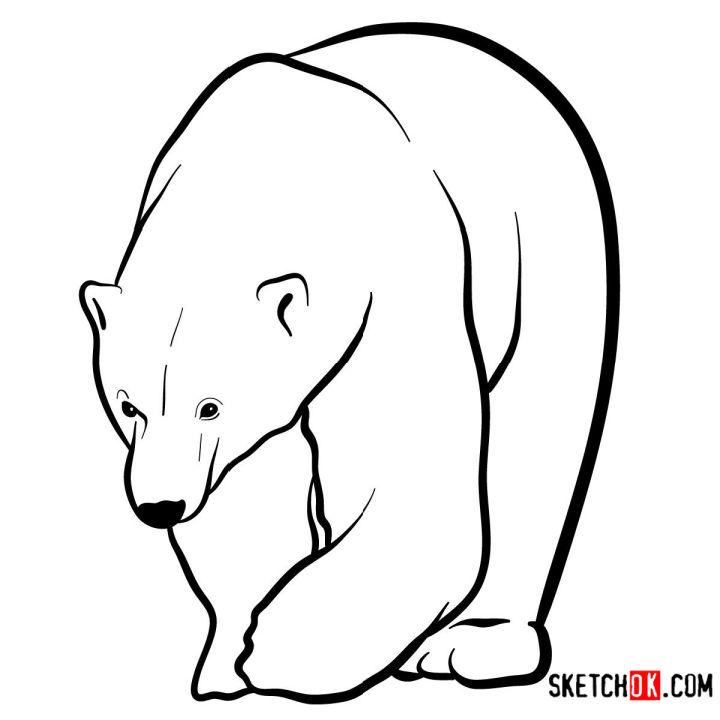
source: sketchok.com
2. Polar Bear Drawing in Just 9 Easy Steps
If you’re looking to create a cute and realistic polar bear drawing, follow these 9 easy steps. Start by sketching the basic shapes of the bear’s body and head. Then, add in details like the ears, eyes, and nose. Next, work on the fur by adding in short, curved lines to give it texture. Don’t forget to draw the paws and claws! Once you’ve added all the necessary details, erase any unnecessary lines and darken the final outline. Finally, add shading to give your polar bear drawing depth and dimension. With a little practice and patience, you’ll have a beautiful polar bear drawing in no time!
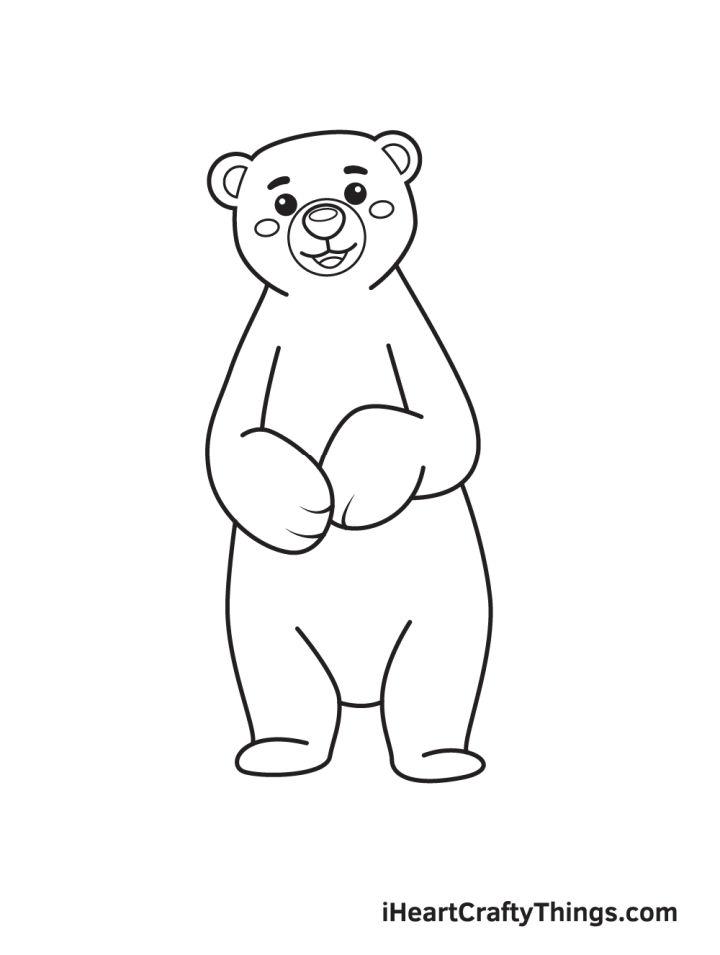
source: iheartcraftythings.com
3. Easy Way to Draw a Polar Bear
Drawing a polar bear can be simple and fun! Start by sketching a large oval for the body and a smaller oval for the head. Add in two small circles for the ears and a larger circle for the snout. Next, draw two small ovals for the eyes and a triangle for the nose. Don’t forget to add in some fluffy lines around the neck and cheeks to give the bear its signature furry look. Finally, draw in four short, thick legs and some big paws. Voila! You have a cute polar bear drawing ready to be colored in!
source: artprojectsforkids.org
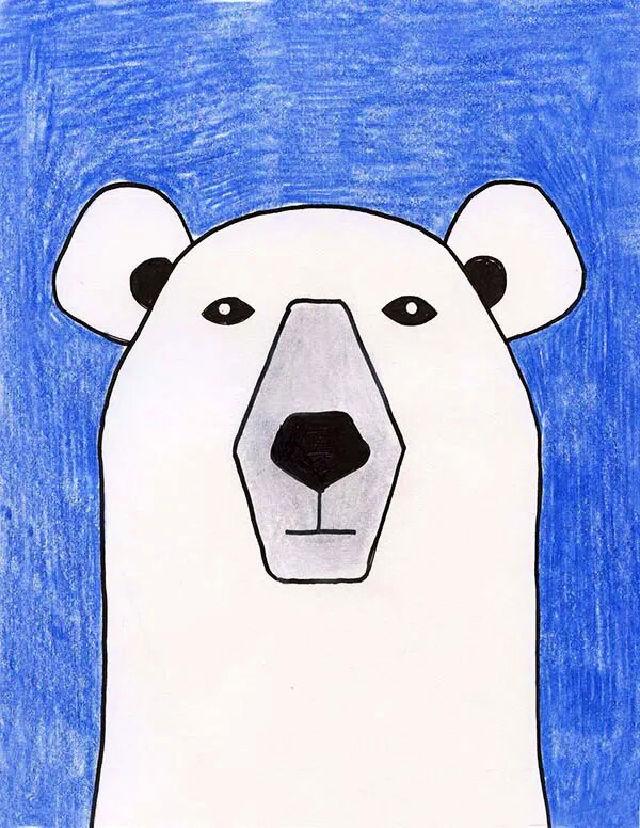
4. Polar Bear Cartoon Drawing
is a delightful and charming form of art that captures the adorable and playful nature of these majestic creatures. The exaggerated features and expressions of the polar bear in a cartoon drawing can evoke a sense of warmth and joy in viewers. The use of bright colors and whimsical details add to the appeal of these drawings, making them popular among both children and adults. Whether it’s a polar bear enjoying a snow day or engaging in a silly adventure, the cartoon drawing of these animals never fail to bring a smile to people’s faces.

source: iheartcraftythings.com
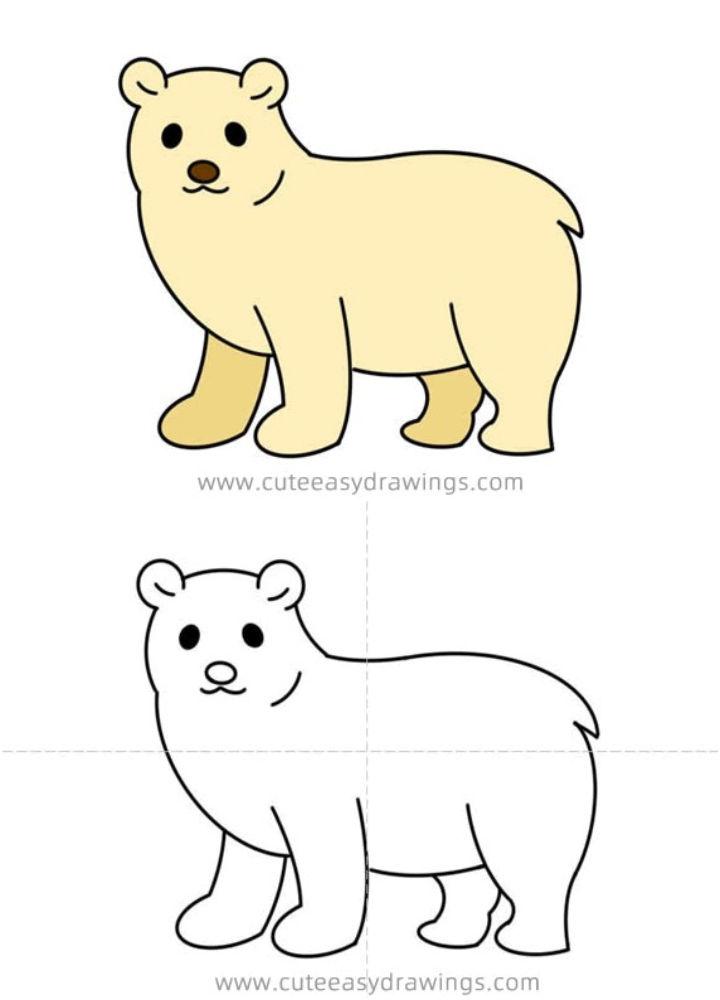
5. Simple Polar Bear Drawing
One way to draw a simple polar bear is to start with a large oval for the body and a smaller oval for the head. Add two small circles for the ears and a larger circle for the snout. Draw two small eyes and a triangle for the nose. For the limbs, use simple lines for the legs and paws. Finally, add some fluffy details around the neck and limbs to give the polar bear a furry appearance. This basic drawing is a fun and easy way to capture the essence of this majestic Arctic animal.
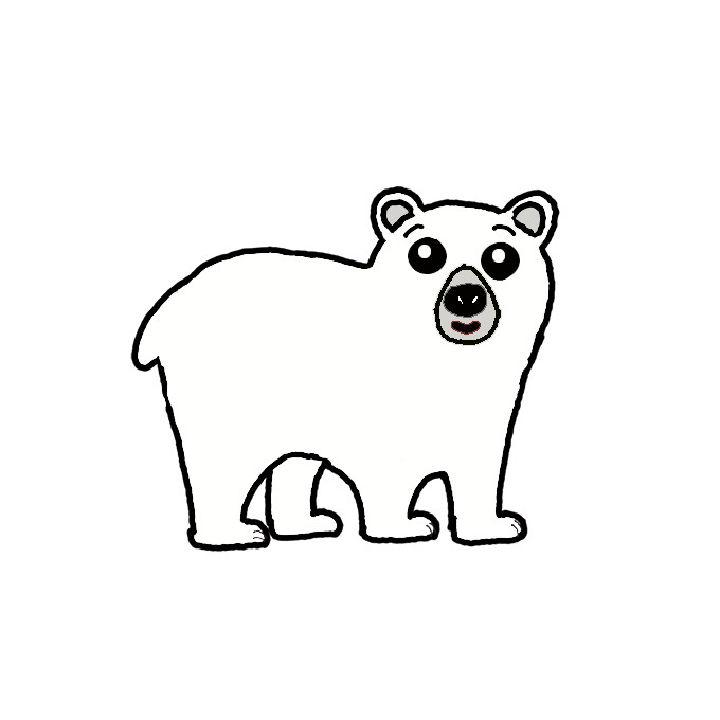
source: drawinghowtos.com
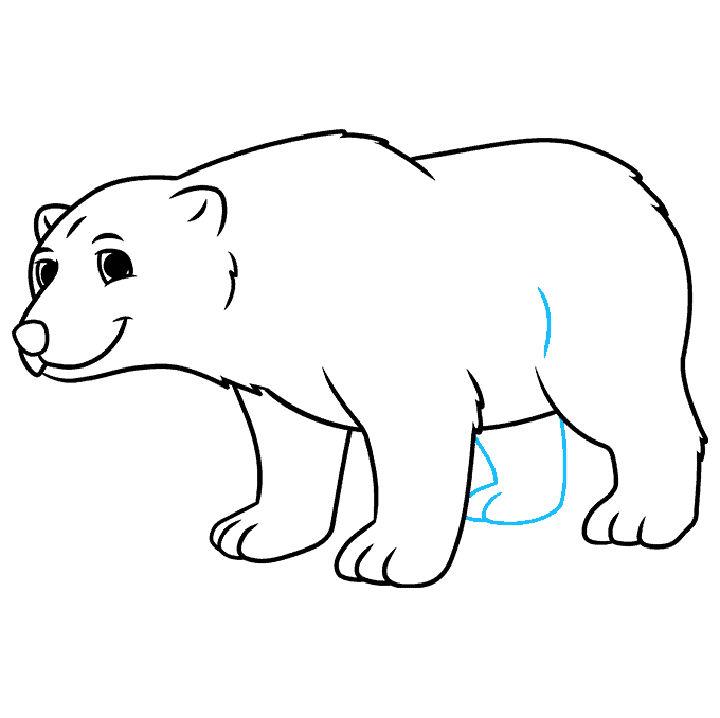
6. How to Draw a Cartoon Polar Bear
To draw a cartoon polar bear, start by sketching a large oval for the body and a smaller oval for the head. Add two smaller ovals for the ears and two circles for the eyes. Draw a small triangle for the nose and a curved line for the mouth. Next, add two small ovals for the arms and two larger ovals for the legs. Connect the ovals and circles with curved lines to create the bear’s body. Add some fur details by drawing short, curved lines all over the body. Finally, erase any unnecessary lines and color in the polar bear with white and light blue shades to give it a wintery feel. Voila, you have drawn a cute cartoon polar bear!
source: dragoart.com
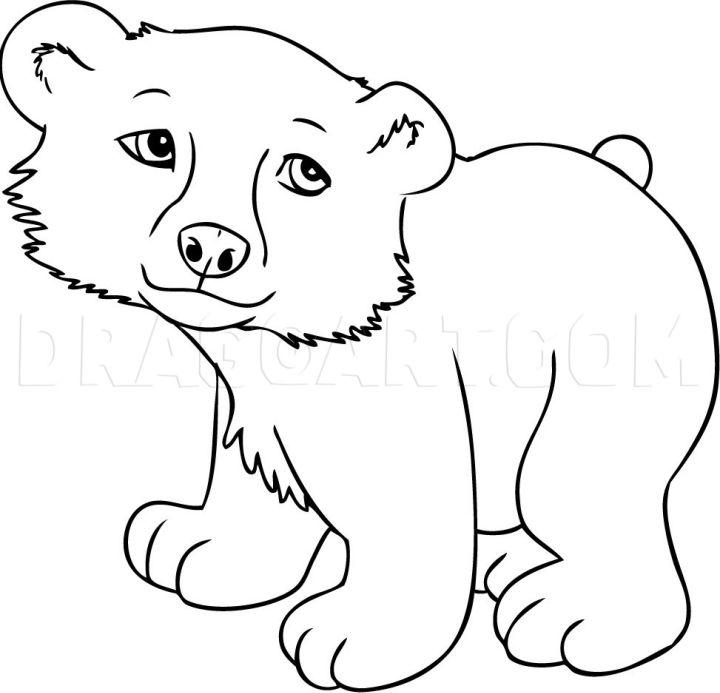
7. Wonderful Polar Bear Cub Drawing
The intricate details and lifelike portrayal of a polar bear cub in this drawing are truly remarkable. The artist has captured the innocence and playfulness of the cub, with its fluffy white fur and curious expression. The shading and precision in the drawing make it appear almost three-dimensional, as if the cub could come to life at any moment. This drawing is a testament to the skill and talent of the artist, who has truly captured the beauty and majesty of these incredible creatures.
source: easydrawingguides.com
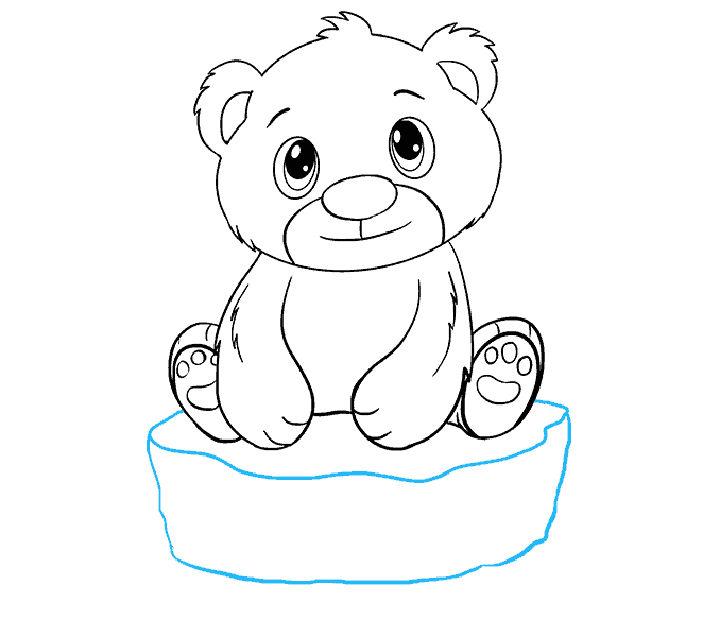
8. How to Draw a Polar Bear for Kids
To draw a cute polar bear for kids, start by drawing a large circle for the head and a smaller circle for the body. Add two small circles for the ears and two larger circles for the paws. Next, draw a small oval for the nose and two smaller ovals for the eyes. Add a curved line for the mouth and a few small lines for the whiskers. Finally, draw the polar bear’s fluffy tail and color it in with white crayons or colored pencils. Encourage kids to add their own creative touches, such as snowflakes or a winter background, to make their drawing unique and special.
source: .cuteeasydrawings.com
9. Easy Polar Bear Drawing
Drawing a polar bear can be a fun and simple task, even for those with limited artistic abilities. Start by sketching the basic shapes of the polar bear, such as a large oval for the body and smaller ovals for the head and limbs. Add details like the bear’s ears, nose, and eyes. Don’t forget to include the polar bear’s fluffy fur by adding some short, curved lines all over its body. Lastly, finish off your drawing by adding any final touches or background elements. With a little practice and patience, you can create a cute and easy polar bear drawing to enjoy!
source: easydrawingguides.com
10. How to Draw a Polar Bear Mom with Baby Bear
To draw a polar bear mom with a baby bear, start by sketching the basic shapes of the bears using circles and ovals for the body and head. Make the mom bear slightly larger than the baby bear to show the size difference. Add in details like the ears, eyes, nose, and paws. Use reference images of polar bears to get an idea of their features. Next, add in the fur texture by drawing short, curved lines all over the body. Remember to draw the baby bear close to the mom, perhaps nuzzling or playing with her. Finally, add in shading to give the bears depth and dimension, and voila, you have a cute drawing of a polar bear mom with a baby bear!

source: sketchok.com
FAQ:
Q: What materials do I need to draw a polar bear?
A: You will need a pencil, eraser, paper, and if you choose, colored pencils or markers.
Q: Do I need to have any prior drawing experience to draw a polar bear?
A: No, these tips are designed for beginners and experienced artists alike.
Q: How should I start drawing a polar bear?
A: Start by sketching the basic shapes and outlines of the polar bear before adding details.
Q: What are some important features to focus on when drawing a polar bear?
A: Focus on the bear’s round body, small ears, and thick fur to capture their unique characteristics.
Conclusion:Master the Art of Drawing Polar Bears: 10 Easy Tips
Conclusion:
In conclusion, mastering the art of drawing polar bears can be a fun and rewarding experience. By following these 10 easy tips, you can improve your skills and create realistic and captivating drawings of these majestic creatures. Remember to practice regularly, pay attention to details, and experiment with different techniques to find what works best for you. With dedication and patience, you can become proficient in drawing polar bears and bring them to life on paper.